☆ JQuery - add, attr

<!DOCTYPE html>
<html>
<head>
<meta charset="utf-8">
<title>Insert title here</title>
<script src="https://code.jquery.com/jquery-1.12.4.min.js"></script>

<script type="text/javascript">

	/* javaScript의 window.onload에 해당 */
	$(function(){
		//alert("load");

		//b태그 중에서 클래스명이 happy인 태그의 배경색을 orange 색으로 변경하라
		$("b.happy").css("background-color","orange");

		//1. 방법1... 연달아 css함수를 준다
		//모든 h2태그의 border를 변경하고, 글자색을 빨강색으로 변경
		$("h2").css("border","3px inset pink").css("color","red");

		//2. 방법2
		$("h2").css({
			"border": "5px double blue",
			"color" : "gray"
		});


		//모든 이미지의 속성은 scc를 변경하라
		//스타일변경은 css, 속성변경은 attr을 사용
		//style의 width 값도 같이 수정하기
		//$("img").attr("src","../image/01.png").css("width","200px");

		//스타일을 여러개를 변경할 경우, width:150 border로 변경
		$("img").attr("src","../image/09.png").css({

			"width":"150px",
			"border": "2px dotted magenta"
		});

		//문제1
		//1.img 태그중 클래스명이 yourImg의 이미지를 변경하고, width, border-radius, border, box-shadow를 변경
		$("img.yourImg").attr("css","../image/04.png").css({

			"width": "200px",
			"border-radius": "2px",
			"border": "3px solid red",
			"box-shadow": "5px 5px 5px orange"
		});

		//문제2
		//2. span태그중 클래스명이 nice인 태그의 배경색과 글자색, 글자크기를 변경하시오
		$("span.nice").css({

			"background-color": "magenta",
			"color": "white",
			"font-size": "20px"
		});

		//문제3
		//3. id가 myImg의 이미지와 너비를 변경하고 title을 '안녕하세요'로 변경하시오
		$("#myImg").css("width","300px").attr({

			"src": "../image/02.png",
			"title": "안녕하세요"
		})
	});

</script>

</head>
<body>

	<h2>JQuery에서 제일 많이 사용하는 함수 css, attr</h2>
	<b class="happy">B Tag Class Happy</b>

	<br>
	<span class="nice">Span Tag Class Nice</span>

	<br>
	<h2 class="happy">H2 Tag Class Happy</h2>

	<b>내가 좋아하는 이미지들</b>
	<img src="">
	<img src="" class="yourImg">
	<img src="">
	<img src="" id="myImg">

</body>
</html>
☆ JQuery - add, attr
<!DOCTYPE html>
<html>
<head>
<meta charset="utf-8">
<title>Insert title here</title>
<script src="https://code.jquery.com/jquery-1.12.4.min.js"></script>
</head>
<body>
<div class="a">
<div>Happy</div>
<div>Hello</div>
</div>
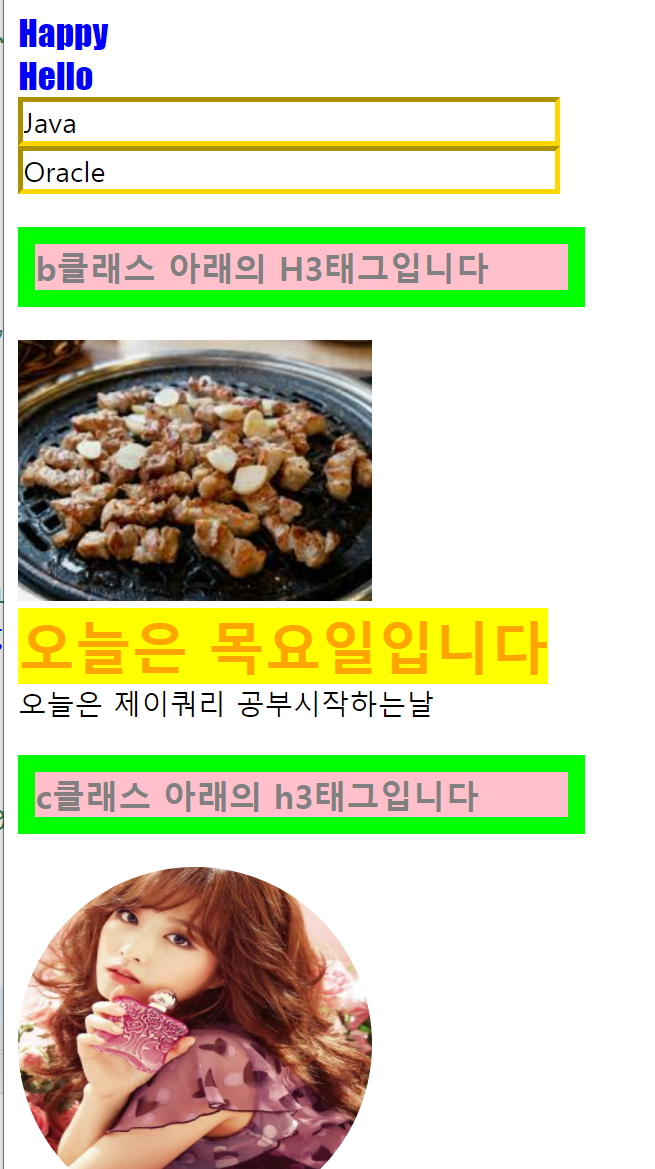
<div class="b">
<div>Java</div>
<div>Oracle</div>
<h3>b클래스 아래의 H3 태그입니다</h3>
<img src="">
</div>
<div class="c">
<b>오늘은 목요일입니다</b>
<div>오늘은 제이쿼리 공부시작하는 날</div>
<h3>c클래스 아래의 h3 태그입니다</h3>
<div><img src=""></div>
</div>
<!-- 복습문제 -->
<script type="text/javascript">
//1. div 클래스명이 a인 태그 아래의 모든 div 안에 있는 글자색을 blue로, 글꼴은 impact, 크기는 20px로 변경
//div.a>div - 바로 밑의 div만
//div.a div - 모든 div
$("div.a div").css({
"color": "blue",
"font-family": "Impact",
"font-size": "20px"
});
//2. div.b 바로 아래 div 태그의 width를 "300px", border 마음대로 변경
$("div.b>div").css({
"width": "300px",
"border": "2px inset gold"
});
//3. 클래스가 b인 div의 img태그의 src를 변경하고 width를 200px로 변경
$("div.b img").attr("src","../image/03.png").css("width","200px");
//4. 클래스가 c인 div 아래의 b태그의 글자색과 배경색, 글자크기를 변경
$("div.c b").css({
"color" : "white",
"background-color": "blue",
"font-size": "50px"
});
//5. 클래스가 c인 아래의 img에 연예인 사진을 추가후 동그랗게 나오도록 css 설정
$("div.c img").attr("src","../star/18.jpg").css("border-radius","70%");
//6. 모든 h3태그의 배경색을 pink, 글자색을 gray, 너비를 300px, border 알아서 설정
$("h3").css({
"background-color": "pink",
"color": "gray",
"width": "300px",
"border": "3px solid green"
})
</script>
</body>
</html>
☆ eq, append

<!DOCTYPE html>
<html>
<head>
<meta charset="utf-8">
<title>Insert title here</title>
<script src="https://code.jquery.com/jquery-1.12.4.min.js"></script>
</head>
<body>

	<h4>html(): 자바스크립트의 innerHTML에 해당</h4>
	<h4>text(): 자바스크립트의 inerText에 해당</h4>
	<h4>append(): 추가</h4>

	<hr>

	<h2>1</h2>
	<h2>2</h2>
	<h2>3</h2>


<script type="text/javascript">

	//h2 중에서 1번째에 html 태그넣기
	//$("h2").eq(0).html("<b2>#1_H2태그입니다</b>");	//방법1
	//$("h2:eq(0)").html("<b2>#2_H2태그입니다</b>");	//방법2
	//$("h2:first").html("<b2>#3_H2태그입니다</b>");	//방법3
	$("h2").first().html("<b2>#4_H2태그입니다</b>");	//방법4

	//h2태그중 2번째에 text로 태그넣기
	$("h2:eq(1)").text("<b>2번째 h2태그입니다</b>");

	//h2 마지막 태그에 html 태그를 넣고 css추가하기
	$("h2:last").html("<b>마지막 h2태그입니다</b>").css("color","red");

	//append는 기존값 뒤에 추가하기
	$("h2:eq(0)").append("<img src='../image/01.png'>");

	//세번째 h2 태그 뒤에 이미지 추가하고 너비 높이를 100px로 변경
	/* .html로 할 경우, 입력된 문자열이 대체됨 */
	$("h2:eq(2)").append("<img src='../image/02.png'>");
	$("h2:eq(2) img").css({
		"width":"100px",
		"height":"100px"
	});


	//이벤트
	$("h2:eq(0)").click(function(){

		alert($(this).text());	//자기자신 안에있는 텍스트를 반환
	});


	$("h2:last").click(function(){

		alert($(this).html());	//자기자신 안에있는 html을 반환
	});


</script>
</body>
</html>
☆ 클릭으로 복사 후 붙여넣기

<!DOCTYPE html>
<html>
<head>
<meta charset="utf-8">
<title>Insert title here</title>
<script src="https://code.jquery.com/jquery-1.12.4.min.js"></script>
</head>
<body>

	<h3 class="a"></h3>
	<hr>
	<h3 class="b">h3의 내용을 이곳에 복사하세요</h3>


<script type="text/javascript">

	//예쁜 미니언즈입니다
	$("h3:eq(0)").html("<b>예쁜 미니언즈입니다</b>").append("<img src='../image/04.png'>");

	//위에 클릭시 alert창에 '안에 코드를 복사했습니다'가 나타나게
	$("h3.a").click(function(){

		tag=$(this).html();
		alert("안의 코드를 복사하였습니다");
	});

	//아래 클릭시 미니언즈가 복사가 되게
	$("h3.b").click(function(){

		$(this).html(tag); //대체
		//$(this).append(tag);	//추가
	});

</script>
</body>
</html>
☆ mouseOver, mouseOut

<!DOCTYPE html>
<html>
<head>
<meta charset="utf-8">
<title>Insert title here</title>
<script src="https://code.jquery.com/jquery-1.12.4.min.js"></script>
</head>
<body>

	<h2>마우스를 올리면 이미지가 변경.. 벗어나면 다시 원래대로 변경</h2>
	<img src="../image/01.png" width="300">
	<img src="../image/02.png" width="300">
	<img src="../image/03.png" width="300">


<script type="text/javascript">

	$("img").mouseover(function(){

		imgsrc=$(this).attr("src");	//자신의 src속성을 저장해둠
		$(this).attr("src","../image/08.png");	//자신의 src 속성을 변경
	});

	//마우스 벗어나면 다시 원래의 이미지로
	$("img").mouseout(function(){

		$(this).attr("src",imgsrc);
	});

</script>

</body>
</html>
☆ addClass, removeClass, toggleClass
◎ toggle
https://www.codingfactory.net/10353
jQuery / Method / .toggle() - 선택한 요소가 보이면 보이지 않게, 보이지 않으면 보이게 하는 메서드
.toggle() .toggle()은 선택한 요소가 보이면 보이지 않게, 보이지 않으면 보이게 합니다. 문법 .toggle( [duration ] [, complete ] ) duration duration에는 완전히 나타날 때까지의 시간이 들어갑니다. fast, slow로
www.codingfactory.net

<!DOCTYPE html>
<html>
<head>
<meta charset="utf-8">
<title>Insert title here</title>
<style type="text/css">

	.happy{
		width: 200px;
		height: 200px;
		border: 10px dashed purple;
		background-image: url("../image/06.png");
		background-repeat: no-repeat; /* 이미지 반복없음 */
		background-size: 30px 30px;	/* 이미지 사이즈 */
	}

</style>

<script src="https://code.jquery.com/jquery-1.12.4.min.js"></script>
</head>
<body>

	<h4>addClass, removeClass, toggleClass에 대한 연습</h4>
	<button type="button" id="btn1">스타일 추가</button>
	<button type="button" id="btn2">스타일 제거</button>
	<button type="button" id="btn3">스타일 추가/제거반복</button>

	<div></div>


<script type="text/javascript">

	//스타일추가 버튼을 누르면 happy라는 클래스를 div에 추가
	$("#btn1").click(function(){

		$("div").addClass("happy");
	});

	//제거
	$("#btn2").click(function(){

		$("div").removeClass("happy");
	});

	//추가, 제거
	$("#btn3").click(function(){

		$("div").toggleClass("happy");
	});


</script>
</body>
</html>
☆ Class 추가, 제거
<!DOCTYPE html>
<html>
<head>
<meta charset="utf-8">
<title>Insert title here</title>
<script src="https://code.jquery.com/jquery-1.12.4.min.js"></script>
<style type="text/css">
a{
background-color: cyan;
cursor: pointer;
border: 3px groove gray;
box-shadow: 7px 7px 10px #ddd;
margin-left: 10px;
font-size: 15pt;
}
div{
width: 300px;
height: 300px;
border: 1px solid gray;
margin-top: 30px;
}
div.a{
font-size: 2em;
font-family: "궁서체";
color: blue;
}
div.b{
border: 10px groove gold;
border-radius: 30px;
box-shadow: 5px 5px 5px magenta;
}
div.c{
background-image: url("../image/03.png");
background-repeat: no-repeat;
background-size: 150px 150px;
background-position: center center;
}
</style>
</head>
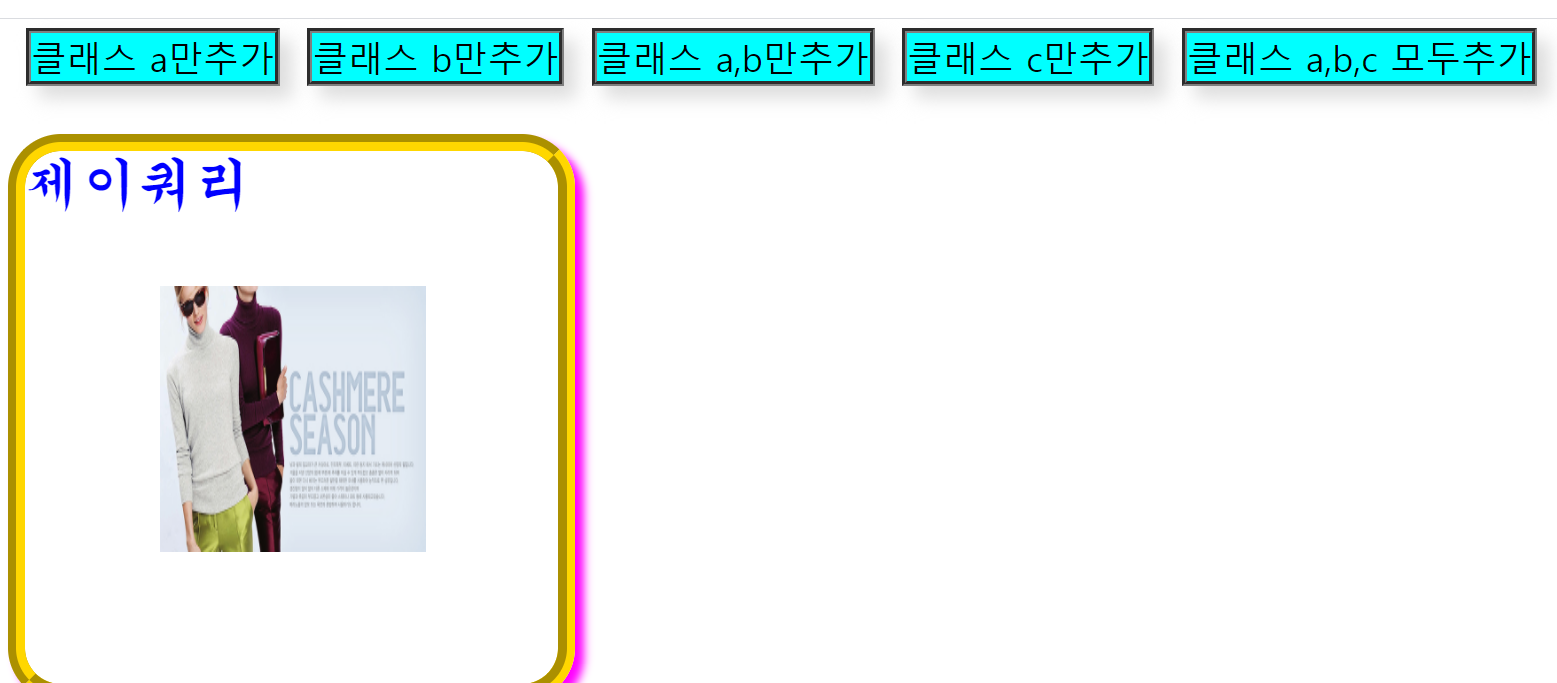
<body>
<a>클래스 a만 추가</a>
<a>클래스 b만 추가</a>
<a>클래스 a,b만 추가</a>
<a>클래스 c만 추가</a>
<a>클래스 a,b,c 모두추가</a>
<div>제이쿼리</div>
<script type="text/javascript">
$("a:eq(0)").click(function(){
$("div").removeClass("b c").addClass("a");
});
//2번 a태그 클릭시 b만 추가
$("a:eq(1)").click(function(){
$("div").removeClass("a c").addClass("b");
});
//3번 a태그 클릭시 a b 추가
$("a:eq(2)").click(function(){
$("div").removeClass("c").addClass("a b");
})
//4번 클릭시 c만 추가
$("a:eq(3)").click(function(){
$("div").removeClass("a b").addClass("c");
})
//5번 클릭시 모두 추가
$("a:eq(4)").click(function(){
$("div").addClass("a b c");
})
</script>
</body>
</html>
☆ RGB표

<!DOCTYPE html>
<html>
<head>
<meta charset="utf-8">
<title>Insert title here</title>
<script src="https://code.jquery.com/jquery-1.12.4.min.js"></script>
</head>
<body>
<h3>R,G,B 색상 입력하기</h3>
R: <input type="text" id="txtr" value="255">
G: <input type="text" id="txtg" value="0">
B: <input type="text" id="txtb" value="255">
<div></div>
<script type="text/javascript">
//input[type=타입]{스타일 내용}
$("input[type='text']").css({
"border": "2px solid gray",
"width": "100px",
"height": "30px",
"font-size": "17pt"
});
//div_RGB컬러 출력할 곳
var r=255, g=0, b=255;
var color="rgb("+r+","+g+","+b+")";
$("div").css({
"width": "450px",
"height": "200px",
"border": "5px solid gold",
"background-color": color,
"margin-top": "50px"
});
//R
$("#txtr").keyup(function(){
if(isNaN($(this).val())){
return; //숫자가 아닐경우 함수종료
}
r=$(this).val(); //폼필드의 값을 설정하고 해당값 변환
color="rgb("+r+","+g+","+b+")";
$("div").css("background-color", color);
})
//G
$("#txtg").keyup(function(){
if(isNaN($(this).val())){
return; //숫자가 아닐경우 함수종료
}
g=$(this).val(); //폼필드의 값을 설정하고 해당값 변환
color="rgb("+r+","+g+","+b+")";
$("div").css("background-color", color);
})
//B
$("#txtb").keyup(function(){
if(isNaN($(this).val())){
return; //숫자가 아닐경우 함수종료
}
b=$(this).val(); //폼필드의 값을 설정하고 해당값 변환
color="rgb("+r+","+g+","+b+")";
$("div").css("background-color", color);
});
</script>
</body>
</html>
Q.
★★
모든 img에 같은 이미지를 넣고 width, height, border 설정
5개의 또다른 이미지명을 배열에 넣는다
img태그에 마우스를 올리면 5개 이미지중 한개를 random()으로 구한 후 src변경
마우스 벗어나면 다시 원래의 이미지로

<!DOCTYPE html>
<html>
<head>
<meta charset="utf-8">
<title>Insert title here</title>
<script src="https://code.jquery.com/jquery-1.12.4.min.js"></script>
</head>
<body>

	<img src="">
	<img src="">
	<img src="">
	<img src="">
	<img src="">


<script type="text/javascript">

	//모든 img에 같은 이미지를 넣고 width, height, border 설정
	$("img").attr("src", "../image/01.png").css({

		"width": "200px",
		"height": "200px",
		"border": "1px solid pink"
	});

	//5개의 또다른 이미지명을 배열에 넣는다
	var arr = [
		"../image/02.png",
		"../image/03.png",
		"../image/04.png",
		"../image/05.png",
		"../image/06.png"
	];

	//img태그에 마우스를 올리면 5개 이미지중 한개를 random()으로 구한 후 src변경
	$("img").mouseover(function(){

		/* 현재 이미지의 src 속성을 저장 */
		imgsrc= $(this).attr("src");

		/* 랜덤 수 생성 */
		var rnd = parseInt(Math.random()*5);

		/* 자신의 src 속성을 변경 */
		$(this).attr("src",arr[rnd]);
	});

	//마우스 벗어나면 다시 원래의 이미지로
	$("img").mouseout(function(){

		$(this).attr("src", imgsrc);
	});

</script>

</body>
</html>


댓글